Read the transcript of the lecture
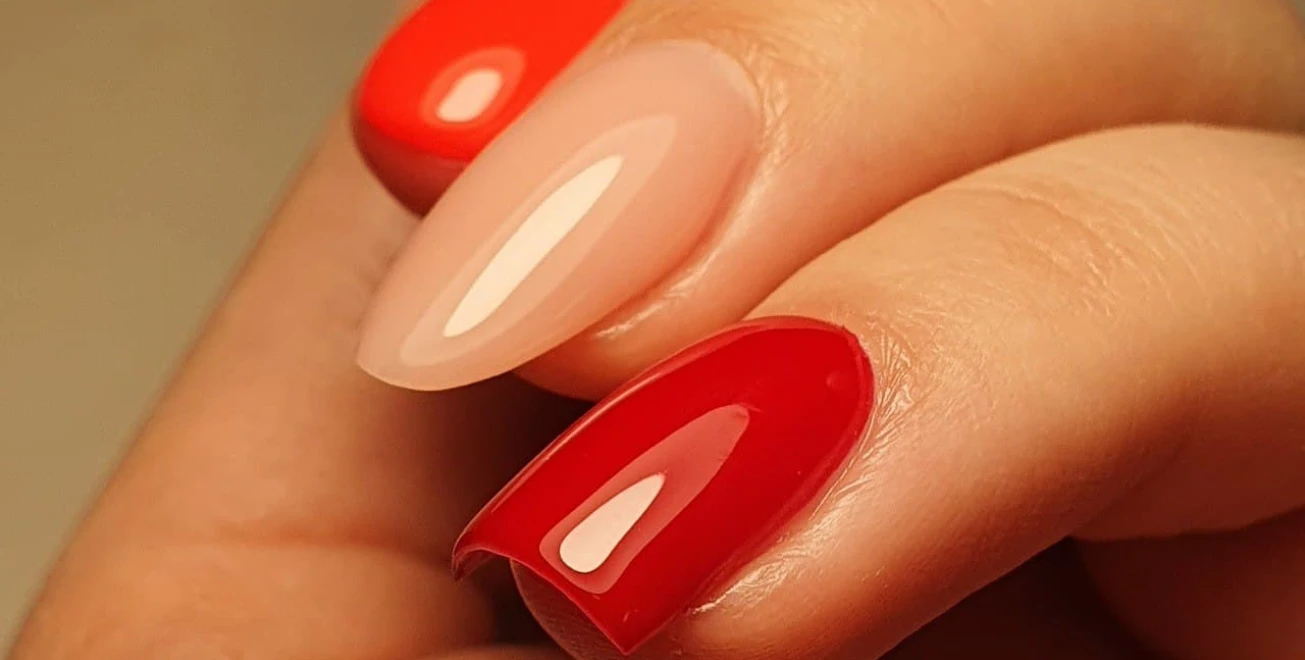
Bye, guys! Now I've got latte ombre and glitter ombre nails for you.
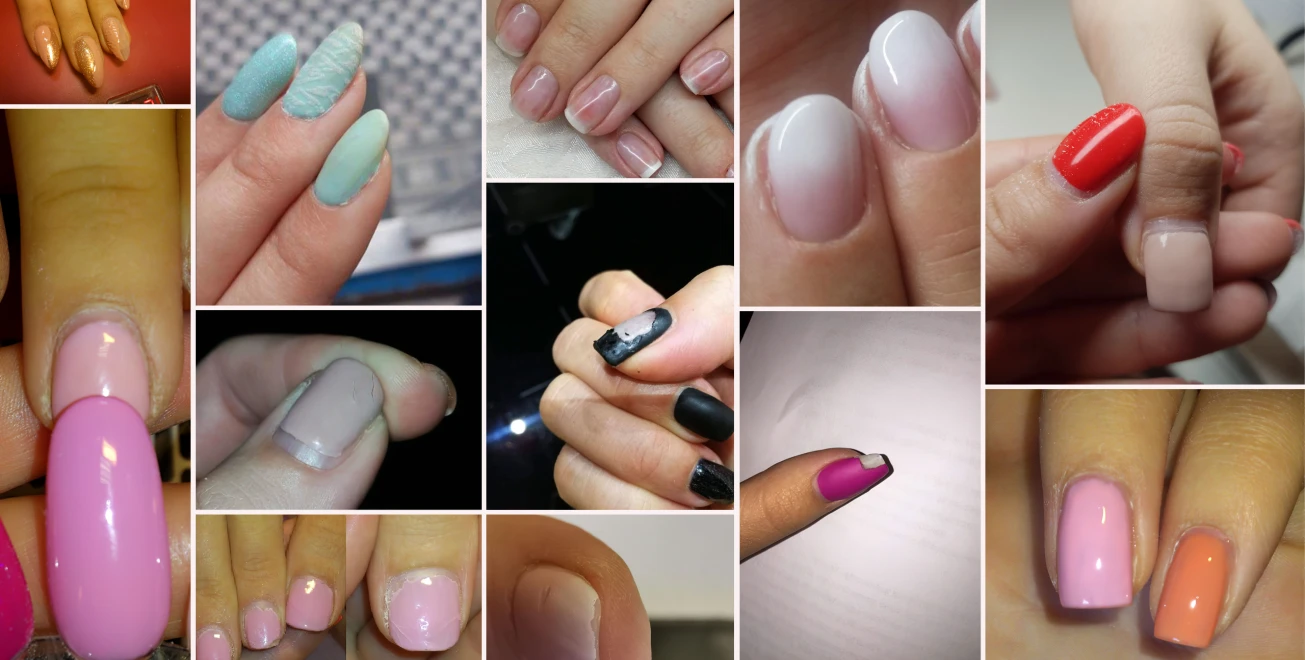
The reason I thought I'd do a tutorial on this is because I get a lot of videos coming my way, and unfortunately, in a lot of cases, the order is wrong, that they use.
So I want to show you the order that works and is much easier to make.
First of all, in every case, right, so now let's think about the fact that I'm not making this for a tip, I'm making this for someone's hand, In any case, the first thing is to use a primer gel, because if I'm going to use gillak on the natural stone slab, it's not likely to stick.
So, by all means, a primer gel, which is a must, is a bottle of fibrous primer gel.
It sticks perfectly for relatively everyone who doesn't, who might have sweaty hands, or a palmar gland disease, or just constantly I use a jelly called Infinity Strong BZ for this.
Now, this one's unbreakable, so it's also for the problematic ones.
So in all cases, I'll apply a very thin layer of primer gel first.
I'm going to volume this for about half a minute.
That's pretty much what I used to put on 5 of my nails until those 5 nails set.
In the meantime, I'm going to apply the other coat, so it takes about half a minute in the lamp.
I use an orange-yellow gel polish.
and a shadow pro brush, which is a little bit of a fuller brush, I'm going to use to put it on here for the slip.
If I'm doing it on a guest model, of course I'll use a zero brush to correct the creases.
I'll get an ombre brush.
I'm going to use to make the transition, lay the brush on top of it a little bit, and I'm going to use a little bit of a stomping motion to pull the material down.
You don't have to try to get a perfect transition, because you're going to add the glitter and you're going to cover it.
Okay, you're going to want to go for a transition like that.
Okay, that's done, I'm going to have this one tied now.
It takes about 20 seconds, 20 to 30, or until you do it on the other hand.
I'll take a clear lime, it's an elastic lime, clear.
That's what I'm going to put my little sequins in.
I'm using this shadowpro brush, I don't really like to change brushes, I like to go as fast as possible.
I'll apply this clear paste to the orange-yellow part.
I put a little bit on my brush, and then I push it into the glitter, and I stick the glitter on.
glitter ombre became the ombre nails.
So, if someone like me doesn't know what they want and they trust me, I'm sure they'll have it, because I think it's quick to make.
For me, it's a lot faster to get it done than to build a nail and decently apply two coats of color so it's really all over the place.
So it's faster for me.
Mix for 10 seconds.
Now, this is where almost everybody tends to add the clear part with the mica, which is completely unnecessary, because if I put the white on top of it, and I'm going to put the white on top of it, there's going to be a difference in level, I'm going to have to put the clear on one more time.
Well, I'm not a fool to keep smearing it all over the place.
Now worry about my nails, that's a lot of time, no, definitely not.
So that's where the mil comes in.
Right now I'm using Herr's Milky White béchet.
Of course, if you're working with the gel, so you don't want to do this pattern with a reinforced gillag technique, then it's not the Milky White béch, but a self spreading, diluted latte white gel suitable for a no fight technique.
This is exactly the same preparation anyway.
Only we don't use paste, we use gel.
Okay, I'm gonna put my beige on.
I'm also going to put it on the orange peel.
I left a little bit out.
I'd like to keep that to a nice, nice, neon one anyway.
I'll take out a larger portion of my beige, although I'll show you before I apply the material that I have a lot of it in a beige tinted container.
Not because it's coming in like, well, this is special, this is just right, but I'm the one who casts it.
I've gotten used to pouring out of the jar, because now I'm also like there's not much left in the fake gum, so I have to do a little eye-rolling, to make sure I've got plenty of brush.
So for me, it's really a lot.
Like that, but I'll just put a nice layer of color in there.
I'll write down which brand I use a lot, by the way.
I'm not saying I like them all, but I have a lot of different kinds.
and that's how I can seal it in little pots like this.
It's very simple because I can take as much as I want out of it.
I can take out as much as I want.
And the other one is, if I use a brush version, about my sixth nail, as I'm constantly pushing the brush in, By the sixth nail, even with the material, it will be full of bubbles.
Now, that's what freaks me out, chasing the bubbles around on my nails and trying to get them out.
So I'm going to avoid that, old man, and I'm going to finish it and pour it out.
I'll say it's not exactly poured, the point is, I've told you and shown you, and I'm trying to get a larger amount out of it.
Here I'm putting it in the middle of the nail.
There, there, there's a bubble, there's a bubble.
Okay, that's a pretty big tip, so I'm going to need some more material for that.
I'm going to lay it down right in the middle here, take a zero brush, and I'm going to work the zero brush up a little bit like this, so that I don't have a sharp line at the orange yellow, but really get that nice washed-out effect.
On a big tip, it's a fast flow.
Now I'm going to flip that one over a little bit so it goes back where it was.
Well, it's easy on the hands because you don't need as much material, and then it won't start.
You might as well go faster.
Okay, I've worked my transition out nicely, and now I'm going to bind this one.
And then once it's set, you can put a clear coat on.
I use a gel brush, 6 gel brushes.
Because, if you look here, you can see the way I drew the lines.
So this has to be covered with clear, even if you've already covered it with clear completely unnecessarily.
So I don't understand why some people like to work twice and I don't.
I'm going to put this clear over the entire mouth, thinly.
So, I don't want to thicken the built up part anymore, but I do want to have a slippery layer so I don't have to file it.
I'll pick up the smaller amount that I'm going to put on my glitter here.
Since I've just drawn the slip coat, I'll use my zero brush to give it a nice smooth finish, and it'll spread out nicely for me.
So you can almost see the brushstrokes here.
It's also on the same level.
Okay, I'll have that one tied now.
I cover with a fine gel.
If you're working with gel, The self spreading dilute gel, and the also self spreading dilute clear.
Show More